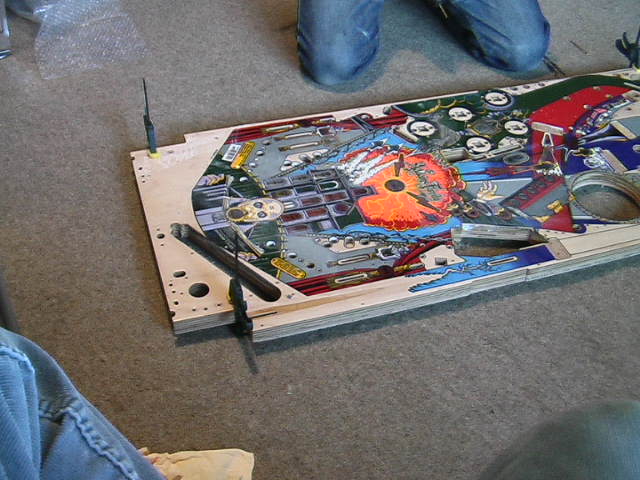
New Addams Playfield Installation
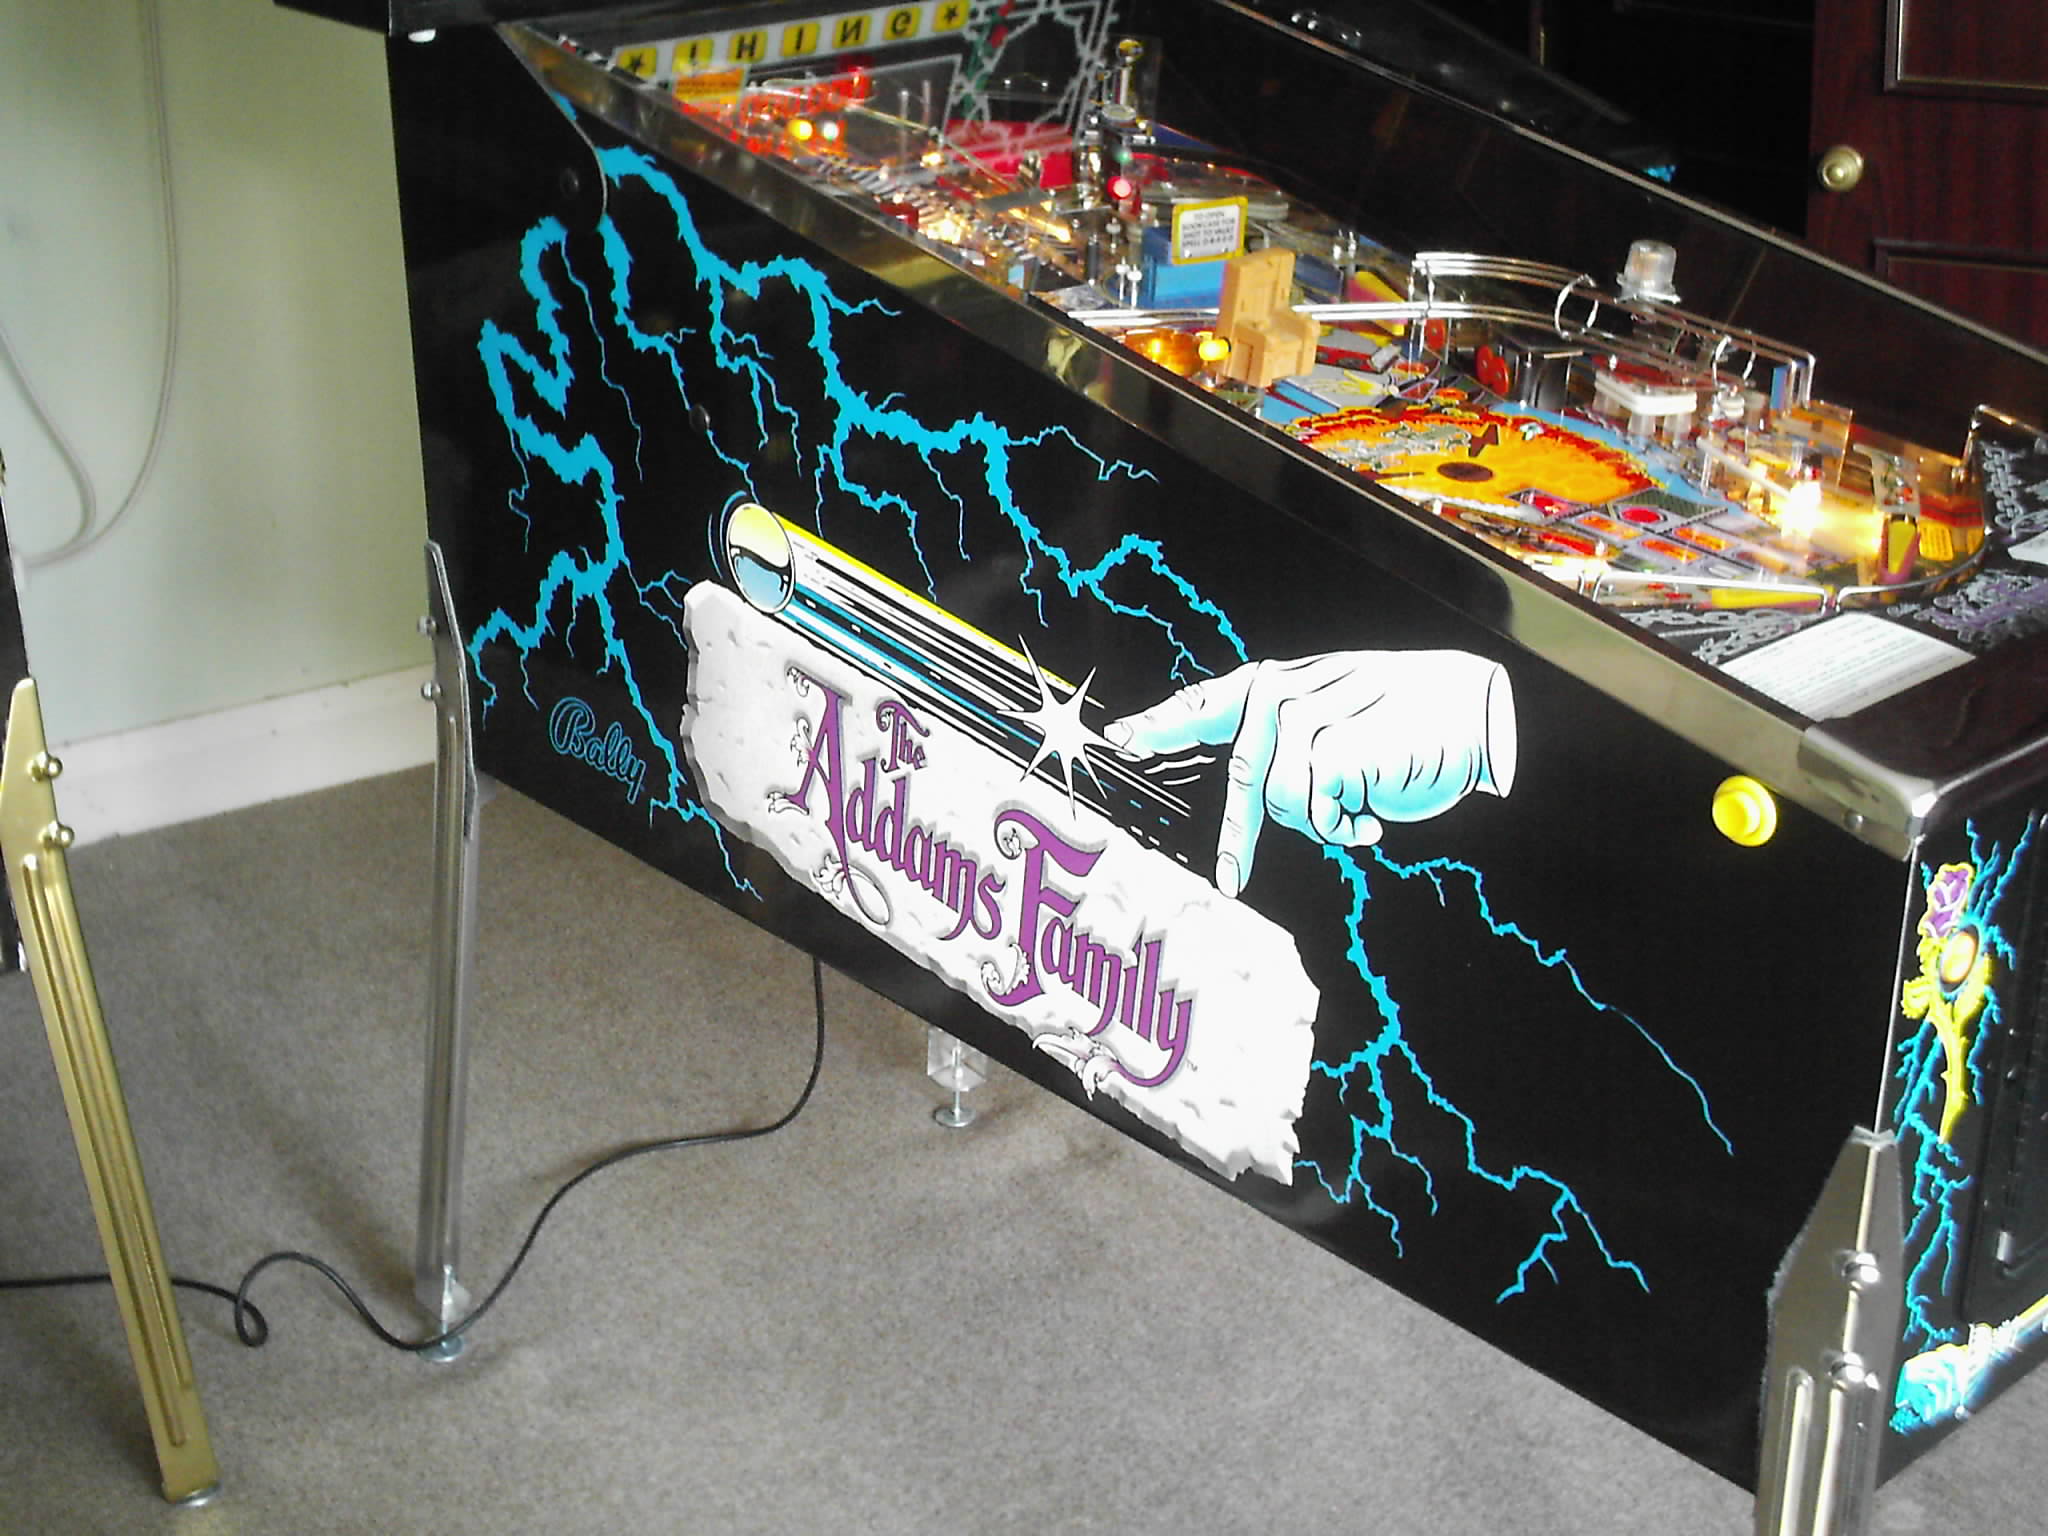
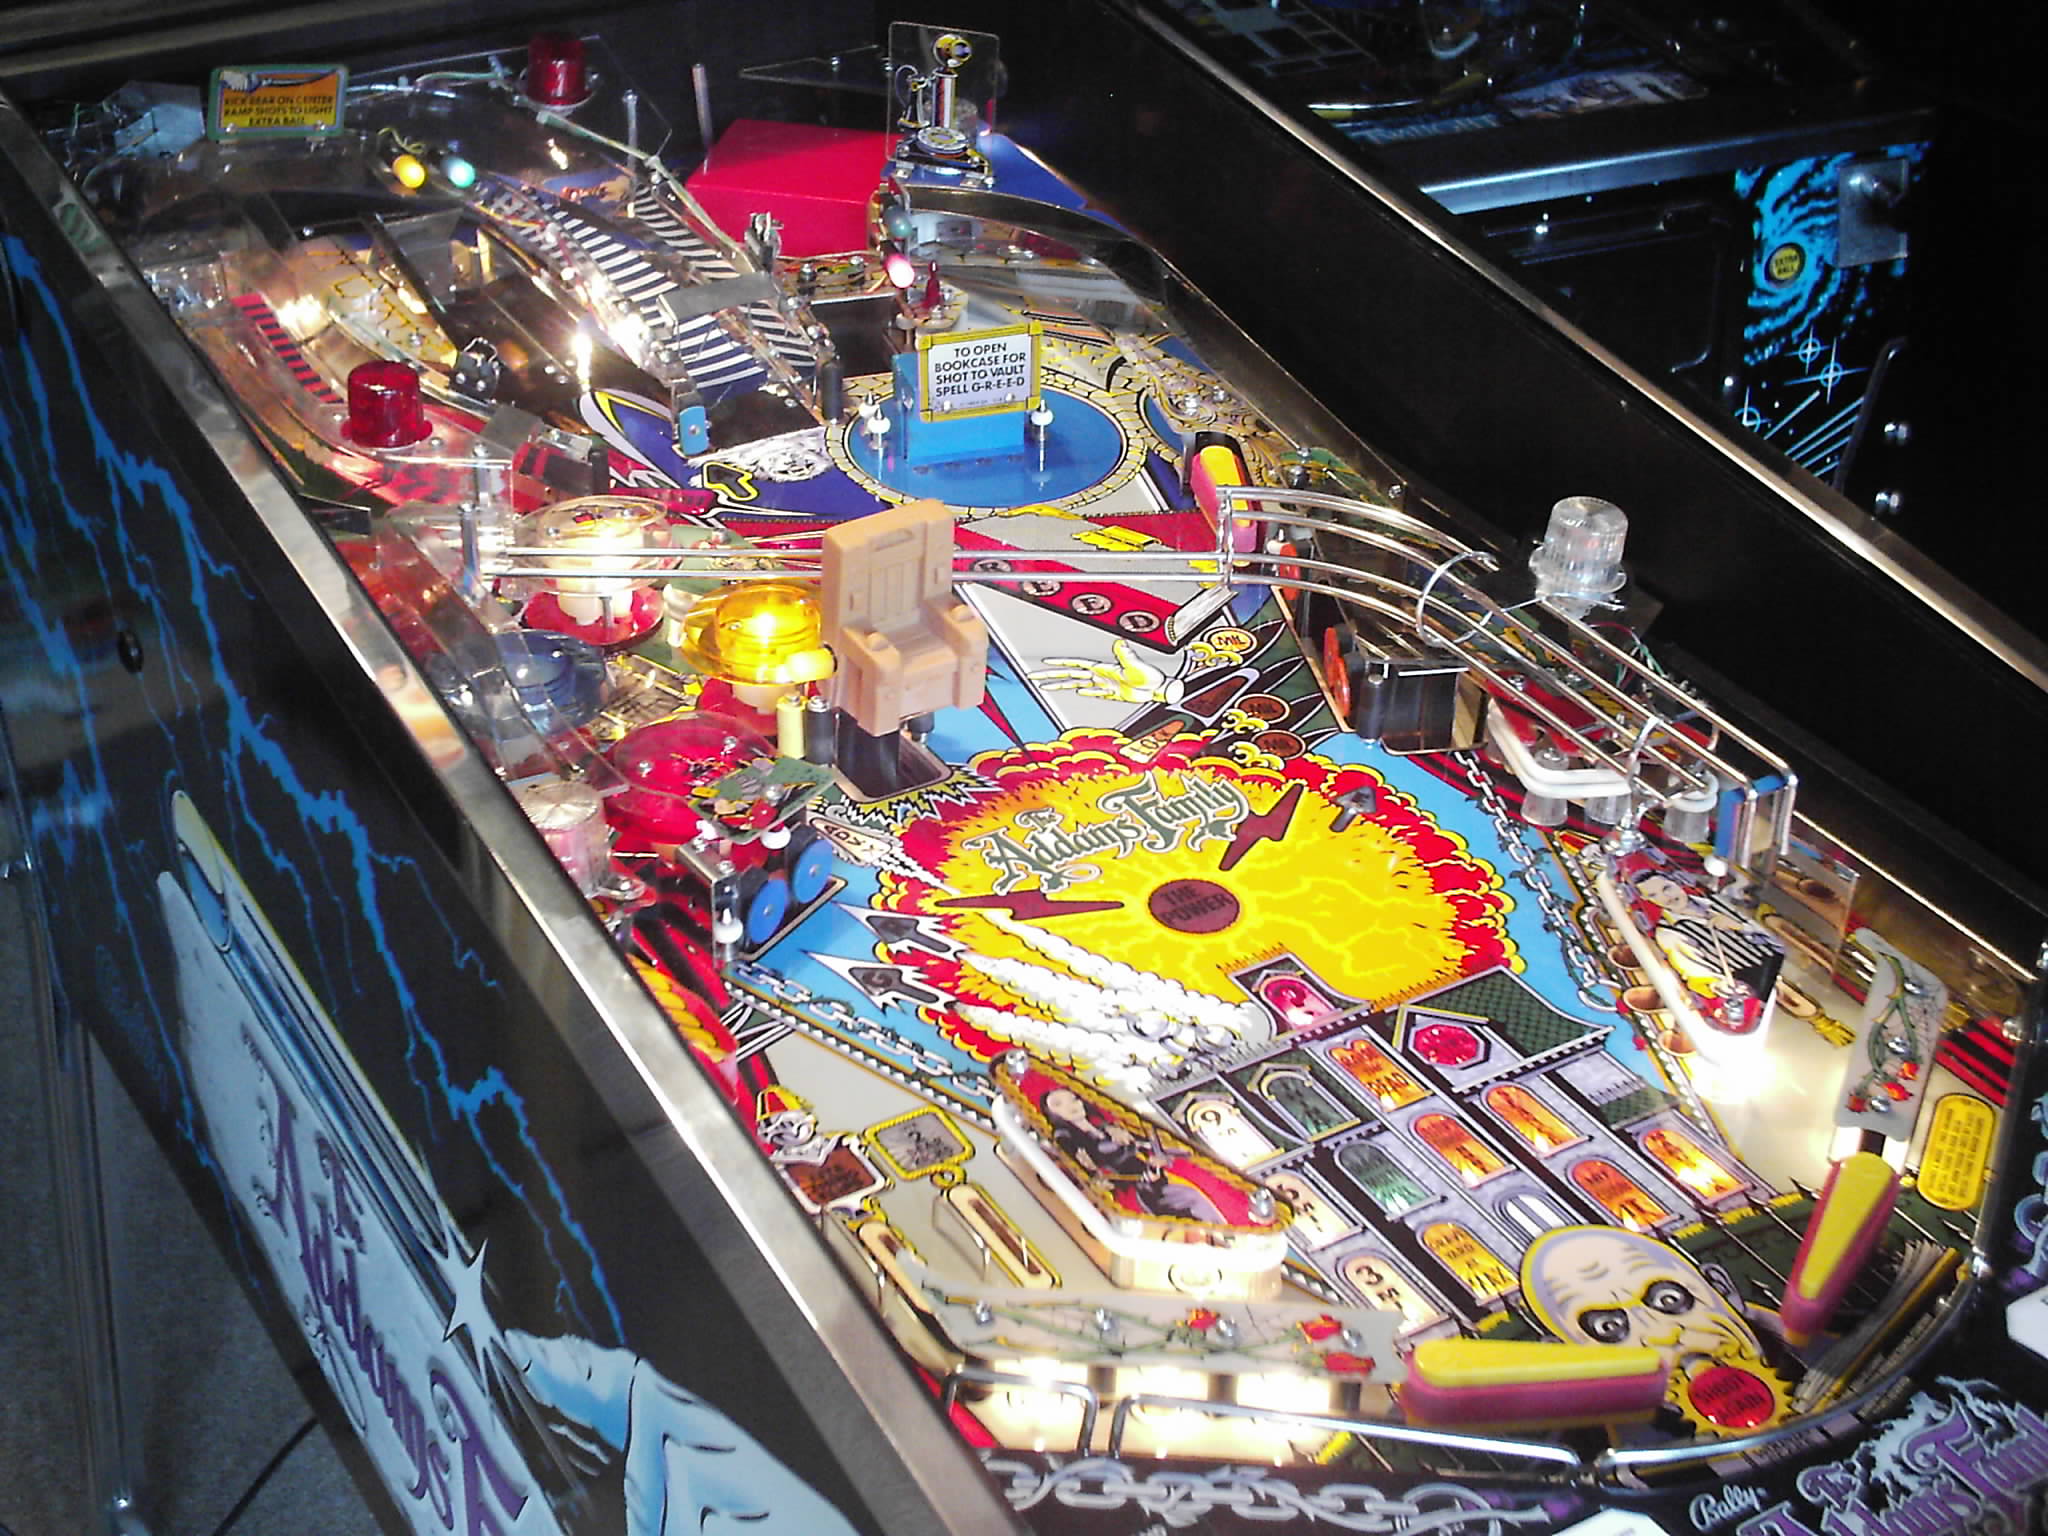
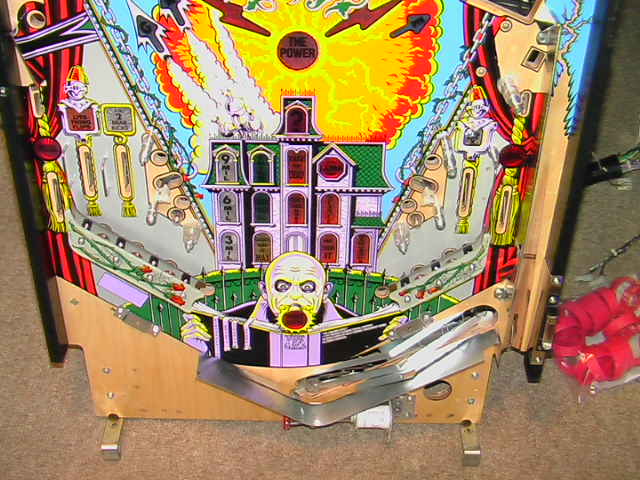
Our NIB (New In Box) Addams Family features a brand new IPB playfield. The installation took many hours of labour but produced incredible results!
Step 1
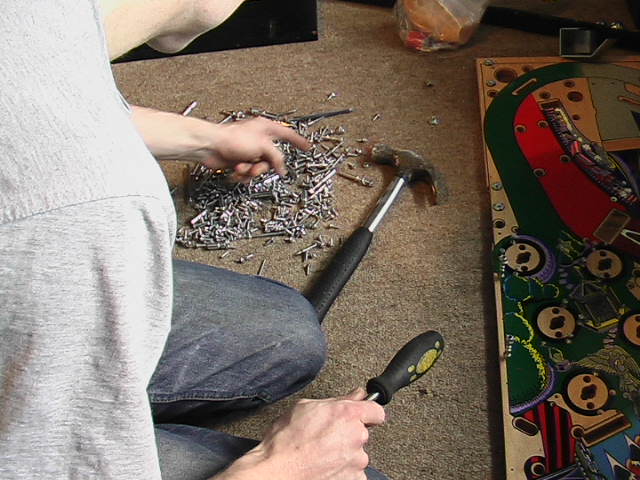
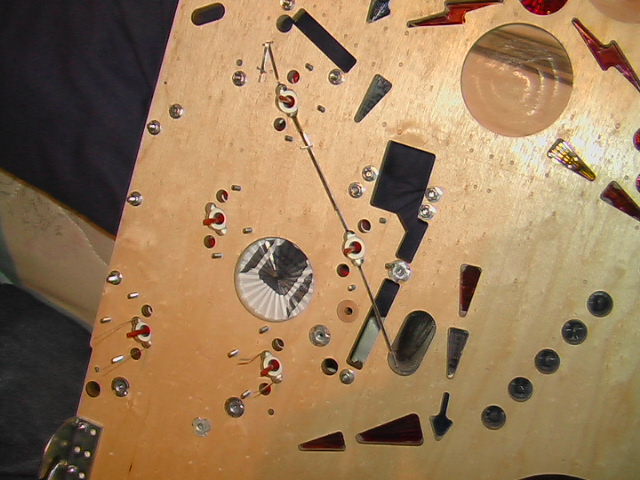
Carefully remove all upper-playfield objects and store in a safe place (it will be a while until you see them again!). Then remove all under-playfield objects including all solenoids, lamps, switches, wiring loom, 'T'-nuts, etc..... Basically until you have a bare plank of wood. All the metal fasteners and playfield posts are placed in a "Berry" vibrating tumbler for 72 hours, restoring their original shine.
Step 2
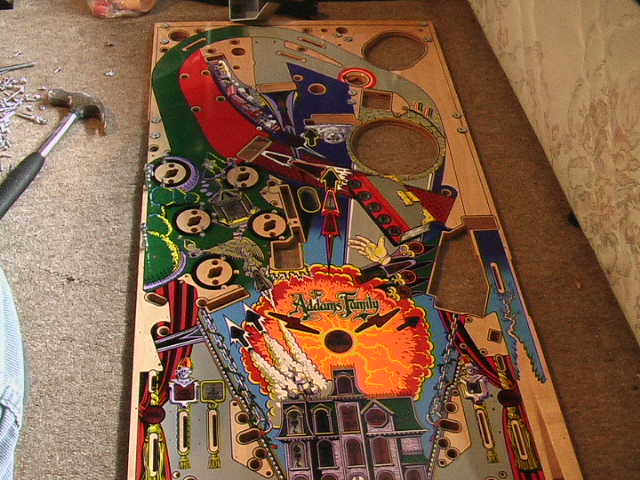
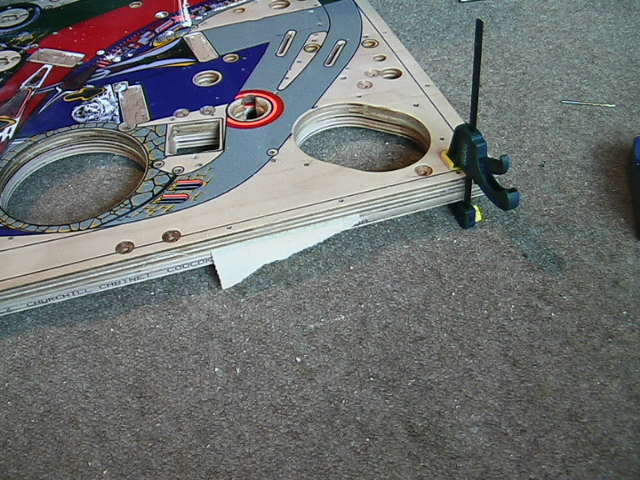
Next it's time to start reassembling the new playfield in our case it was a brand new IPB playfield which look outstanding but are not without complications. For some reason not all the holes are drilled on these playfields and will have to be drilled yourself before reassembly can start. The best method is to use your old playfield as a template by clamping it on top of the new playfield and drilling through the missing holes.

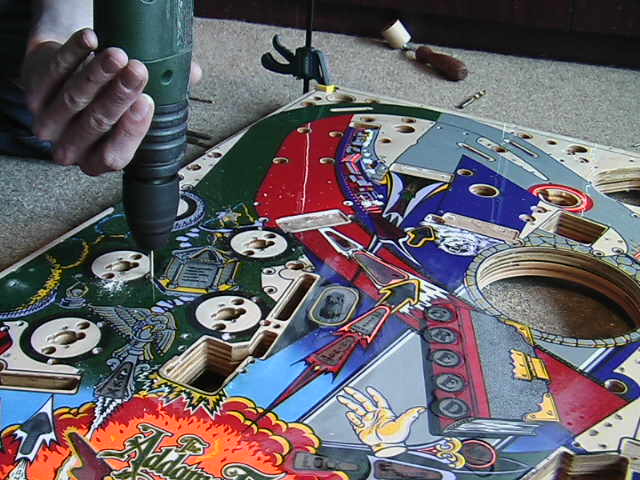
Step 3 - Reassembly
This next step is the most time consuming and difficult. The steps are as follows:-
- T-nuts installed.
- Metal posts bolted in.
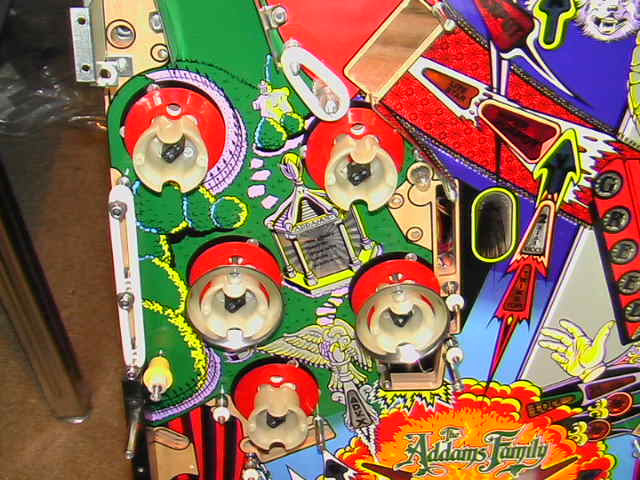
- The dreaded bumper jets are installed next as it is easier to staple the lamp tails with good access.
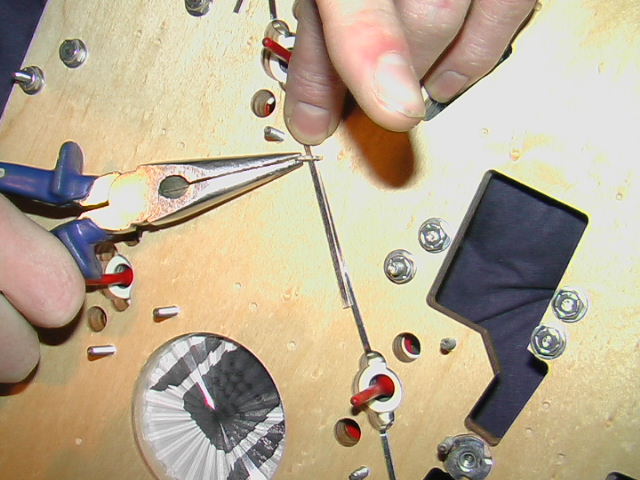
- Cleaned wiring loom refitted.
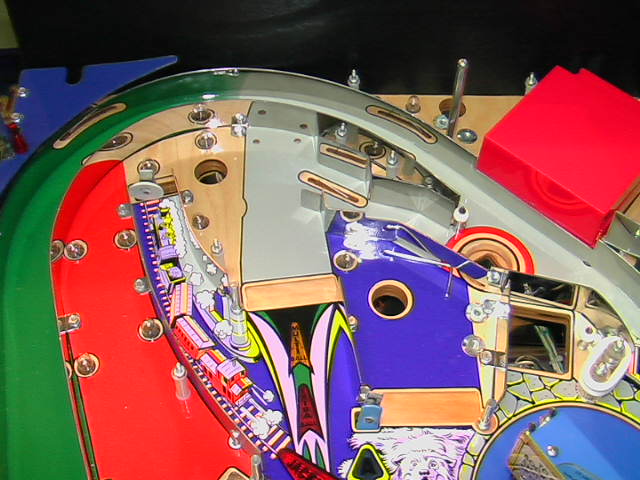
- Polished ball guides installed.

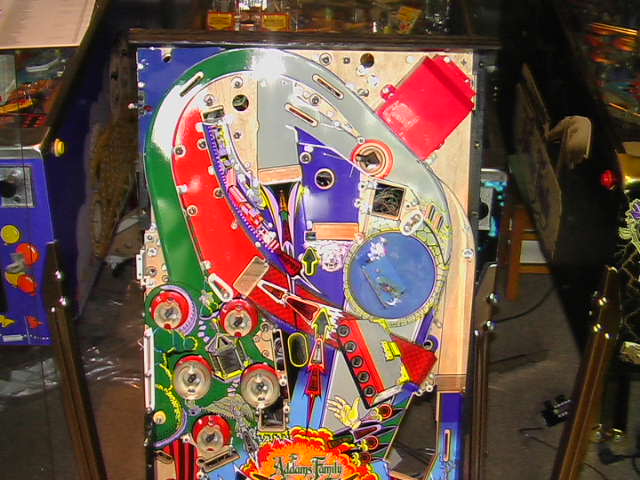
- Star posts (new) and plastic spacer posts are screwed to the playfield.
- New rubber rings installed.
- Plastics installed (cleaned and polished.....replaced if broken or damaged).
- New clear ramp fitted. The wiring loom and flasher fittings from the old ramp have to be transfered using 1/8" semi-tubular rivets.
- Flipper bats fitted and adjusted.